Best ways to add and use custom fonts on your iPad

As you must have updated your iPad with the new OS now and must have explored the wonderful features of iOS13. This new update now gives you ways to install, manage, and work with custom third-party fonts on your iPad
If you are not aware that even without the iPad’s latest iOS, you can install fonts from the App Store on a system-wide basis or for specific apps. Your device also comes with several built-in system fonts you may not even know about. Like when you use and open the Mail app and start a new email and tap in the body of the message. Swipe the bar above the keyboard to the left until you see a Aa icon. Tap that icon. Tap the setting for Default Font, and you can now access any of the built-in fonts.
Similarly when you open Safari on a device with iOS 13 iPad and surf to a readable web page. Tap the Double A icon on the address bar and select the option to Show Reader View. Tap the Aa icon again, and you can now switch to a different font.
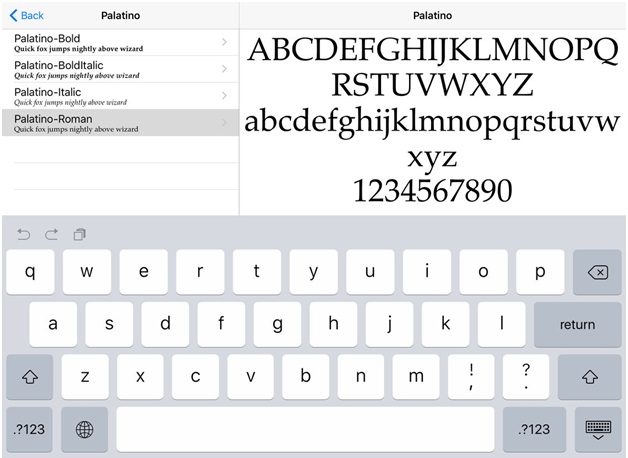
With iOS 13 iPad OS it has a built-in font manager through with you can view and control the custom fonts you’ve installed. The process for downloading and using fonts is the same on an iPad with the new operating system updates.
As a first step, you need to update your iPad and make sure you’re running iOS 13 or higher on your iPad. To do this, go to Settings > General > Software Update. Your device will tell you that your software is up to date or prompt you to download the latest update.
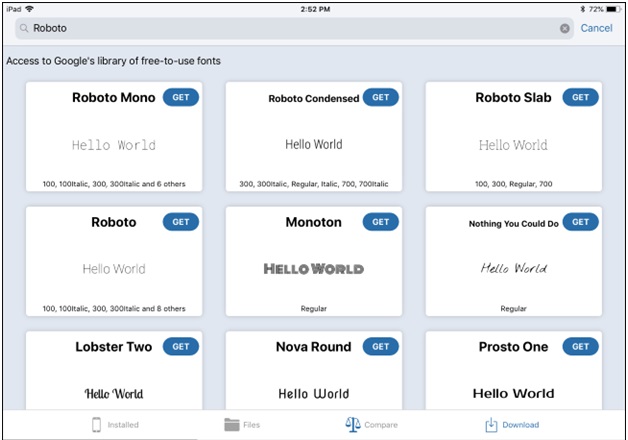
When you’re running the newest OS, go to the App Store and download the fonts you want to add. As there are no official Apple fonts in the App Store, you have to search for and download fonts and font libraries from third parties.
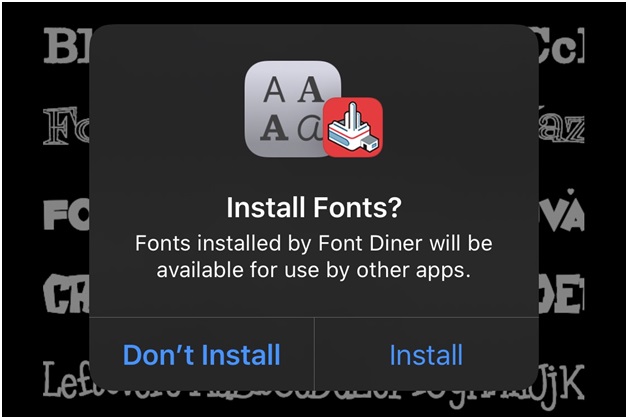
Open the search page at the App Store and run a search for the word “fonts.” That will yield a fair number of font libraries and sets. However, very few fonts and font libraries in the App Store will work with Apple’s new font manager at this point. one supported font app worth trying is Font Diner. Download and open the app. Tap the Activate button and agree to use the font set for personal use only. Tap Install to install the fonts, then open the Library icon to see all the available fonts. You can select which fonts you want to use here or through the new font manager.
To use the font manager, go to Settings > General > Fonts. You can see the installed fonts from Font Diner. To view a font, tap on it and select a typeface. Swipe to the left to see additional screens that display the font.
How to change fonts in numbers and in Keynote?
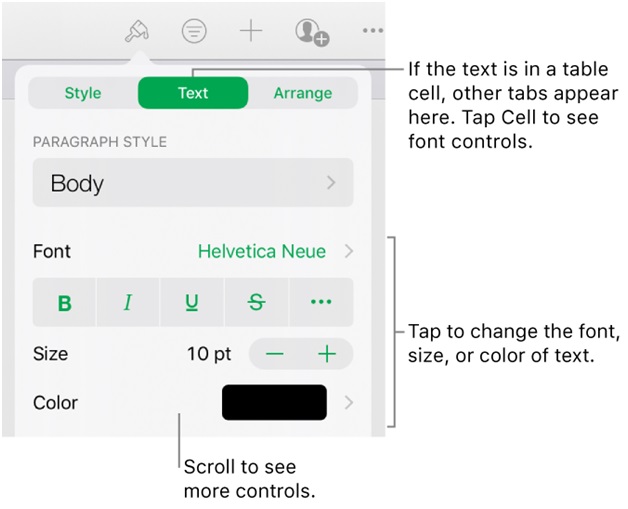
One series of apps you can use with your custom fonts is Apple’s iWork suite, which includes Pages, Numbers, and Keynote.
If you want to change fonts in numbers, select a range of cells then tap the paintbrush icon at the top to open the formatting pane. Tap the option for Cell and then tap the current font name. Scroll through the list and choose a font. Any text or numbers in the selected cells take on the new font. Tap the X to close the formatting pane. You can also create a presentation with custom fonts in the Keynote app. Tap the paintbrush icon to open the formatting pane, then tap the option for Text and select the font name. Select a new font from the selection screen and tap the X to close the formatting pane. Now type text into the document and it will appear in the font you chose.
To try this with the suite, open a document in Pages and tap the paintbrush icon at the top. In the formatting pane at the bottom, tap the name of the current font. Browse through the list of fonts and you should see both the built-in system fonts and the custom fonts you installed through Font Diner. Tap the font you want to use and then close the formatting pane. Start typing your text, and it appears in the font you selected.
Finally to remove a font you won’t use, tap the Edit link at the screen of installed fonts, select the font, and then tap Remove. Alternatively, tap the name of the font and then tap Remove. Confirm the option to remove the font family.