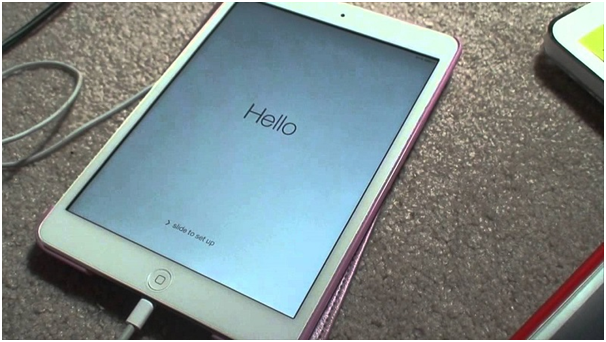
10 steps to follow and fix your iPad to charge up

iPad or iPad Air launched by Apple are one of the most well known devices. Engagement on the highest level does not mean it is entirely free of bugs and you will find that the iPad will just stop charging. Your iPad can stop charging from many reasons like updating to newer iOS 9.3.2 or having too many junk blocking the charging connector.
Here are the ten steps to follow in case your iPad stops charging and even your iPad is safe.
- Connect the iPad to its Lightning Cable Or USB cable. You can then plug into one of three power sources: Wall power outlet Plug the charging cable into the USB wall adapter and plug the adapter into the wall. If you are using the computer, plug your charging cable into a USB 2.0 or 3.0 port on a computer switched on and not in sleep mode. Don’t try the USB port on the keyboard. Power accessory can be used to plug the cable into a powered USB hub, docking station or other Apple certified accessory.
- In iPad Air check for damage, as the device charges, one can see the lightning bolt beside the battery icon in the status bar or a massive battery icon on the lock screen. If the device won’t charge or charges extremely slowly, here are steps you can take. If a black screen is the result when you charge the low battery and plug it into power, check your charging cable and USD adapter for signs of damage such as breakage and bent prongs. Damaged accessories should not be used. Use a wall power outlet and check for firm connections between charging cable, wall outlet and USB wall adapter or check for a different outlet.
- Try to force restart your device. For this, you need to press and hold the Sleep or Wake and Home buttons at the same time for 10 seconds. This is until the Apple logo appears and then you need to charge your device for another 30 minutes.
- You can try using another chargers and different USB cable. In case your USB charger is malfunctioning or not working properly, you can try switching the USB cable or charger. Avoid buying USB cable from Ebay, as those cables can be of really bad quality. Buy the new cable from amazon with lots of good reviews.
- Don’t use the iPad Air while charging it as it can create difficulties. Leave the device till the battery is full as it will charge faster again.
- Clean the Lighting Charging Port on iPad Air. This solution is simple as cleaning the lighting connector port of the iPad involves using a dry toothbrush that will scrape out the debris and other stuff stuck inside. Do this gently to avoid damaging the charging connector and remove the dirt and debris. You can test does your charging work afterwards, as this is the most common cause for not being able to charge the iPad.
- Change the charging method if you are using a wall adapter, connect the iPad to the computer through the USB cable. This will allow it to be charge from a Desktop computer. If the USB cable has been tried, change the method and go for the wall adapter.
- Make sure you are using the right power adapter. Apple currently sells USB power adaptors in 5W, 12W and 29W ratings. Apple Watches and iPhones come with 5W chargers while iPads are linked to 12W models. Only these are inter compatible, but this can affect charging speed too, as well as create difficulties.
- You can also try updating to the latest iOS sometimes by just updating to the latest 9.3 iOS can fix glitches and other problems. You should always make a backup restore copy before updating. This is because updating to the latest iOS can cause you more problem.
- If still your iPad is now charging then go to Apple support visit a Apple retail store or Apple authorized service providers. The Apple support will ask you to send in your iPad air for a repair. It will be free and you have to pay no charge if your iPad is under warranty But if it is not then it can cost up to $200 or so to repair your iPad.
Before you follow the above steps you need to check that the cable is plugged firmly and completely into the iPad if it is not charging properly. You need to ensure that the USB end is firmly plugged into attachment and the plug is plugged firmly into the wall outlet. The USB power adapter and cable come in handy with the device. Now try which steps suits you best.